Saturday, February 18, 2012

Panna Cotta

I dont make dessert often enough.  With the last of the fresh summer berries available now, I vow to make panna cotta more often!


IMG_5199


Recipes vary widely - some use cream only, or add varying portions of milk for a lighter finish.  I've seen yoghurt used in place of some or all of the cream, too.  I recommend you find the mix that is right for you (I've settled at about one third milk).


IMG_5134


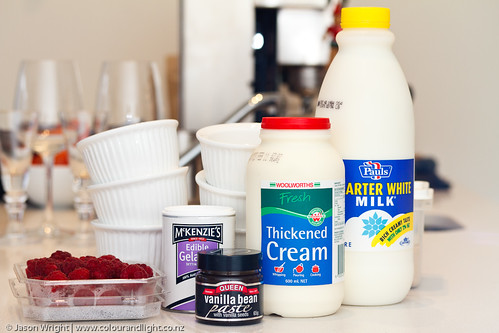
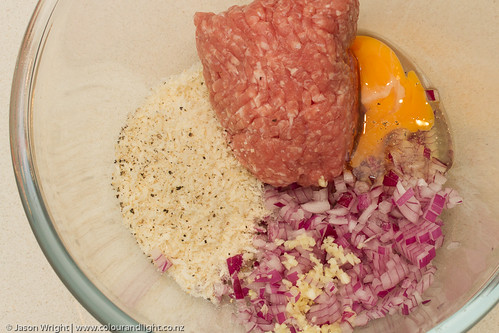
To make six serves, you will need one litre of liquid (cream/milk/yoghurt) to 3 tsp of gelatine powder (follow the packet instructions to reconstitute), plus a teaspoon of vanilla extract (or a whole vanilla pod, scraped) and 110g of fine sugar (again, you can play around with this - I've substituted brown sugar for a "caramel" panna cotta in the past).


Panna cotta


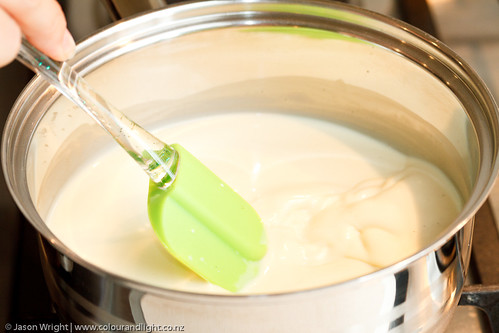
Add the cream, milk, sugar, and vanilla to a saucepan, and stir on medium heat until just boiling.
Add gelatine, stirring until dissolved.
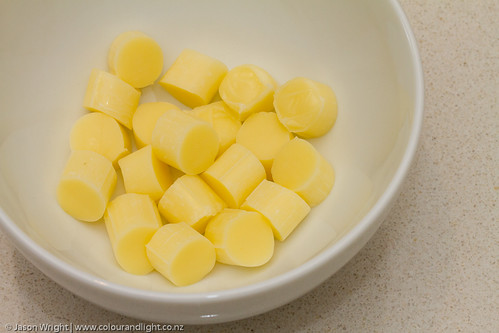
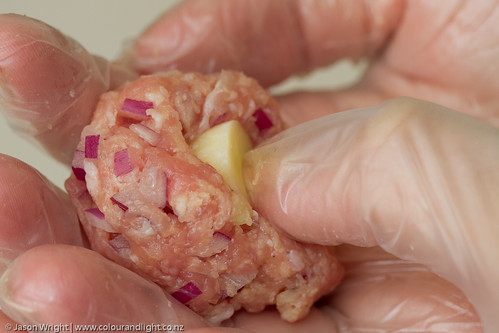
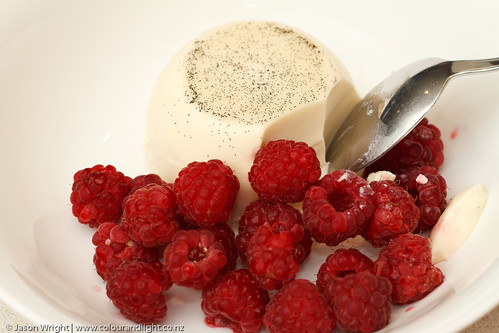
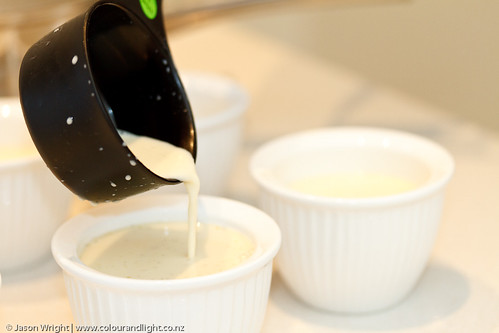
Pour into moulds, and refrigerate until set (about 4 hours).  
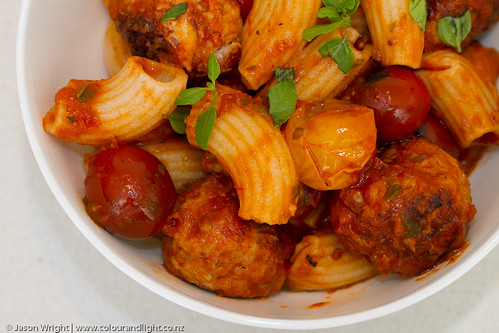
Run a sharp knife around the edge if required to get the mould to separate (or just eat straight from the pot!)  Serve with fresh fruit.


Panna cotta


I also recommend finishing with a campari jelly, as in this Donna Hay recipe - yum!
 

Sunday, February 5, 2012

Why you should be cooking duck at home

Jason came home from a work dinner recently, at a restaurant which he described unremarkable.  While reading the menu, and trying to choose the lesser of the evils on offer, a colleague tried to help: "I try to choose something I couldn't get at home - so I'm having the duck".  Jason's response?  "Oh - my wife cooked that a couple of nights ago."

Do not be scared of duck!  It's damned easy, and it is delicious!

IMG_0841


The main challenge I hade before moving to Melbourne was getting my hands on it.  After years of begging anyone I knew with a gun to get me one - and offering to pluck it myself if required - I finally came across a reliable source of wild duck (thanks, Pinky!)  These days most markets and supermarkets offer whole cleaned duck (you just roast it, like a chicken.  I'll show you soon) - or breast fillets. 

To pan-fry duck breast fillets, you need to know three things:
1. prick the skin all over first
2. most of the cooking time, the skin side should be facing the heat
3. save the fat!


There, now you know.


Prick the skin deeply enough to puncture the fat.  This helps it to drain out during cooking and leaves you with a beautiful, crispy skin.


IMG_0817

In a hot frypan (turn to highest setting, and allow to preheat), quickly sear the meat side, then turn over so the skin meets the pan.

IMG_0826

In the first couple of minutes, the shape of the breast will change - it gets shorter and fatter.  This is normal.

IMG_0832

See the golden fat draining off?  You want to save it in a heat-proof container (I use a pyrex glass jug, or a coffee cup) - pour it out of the pan very carefully (it will burn you badly if you touch it), and let it cool to room temperature.  Once cool, transfer to an ice cube tray, freeze, and use later to make amazing roast potatoes.  I'm going to have to show you that, too - soon.

IMG_0829

I turn occasionally, but make sure that about 80% of the total cooking time is skin-side down.  Total cooking time is 5-10 minutes, I usually just wait until the skin feels right (it should be crispy, not chewy).  Duck should be served medium (pink in the middle, but not "raw").  Glaze with oyster sauce if desired.


NOTE: If your duck breasts are skinned, this is probably healthier but you will miss out on the skin and the roast potato opportunity.  Just pan-fry on a high setting, for about 2 mins each side.  Expect skinless breasts to be a little on the dry side (they don't have that beautiful fat basting them while cooking!) and serve with a jus or sauce.

Saturday, February 4, 2012

Rigatoni with Surprise Meatballs

IMG_2376

This one is a quick and easy weeknight dinner.

IMG_2364

My meatball recipe varies every time I make it, depending on what is in the fridge.  There is typically more vegetable in each ball than meat (a long-standing joke in our household) - almost always a finely diced onion, and usually a grated carrot and/or zucchini too.  Various flavourings (garlic, spices, tomato paste) and often porridge instead of breadcrumbs (I'll share that one with you - trust me, it's great!).  Today though,l I'm keeping it simple:
250g pork mince, a small diced onion, a clove of garlic (chopped), a couple of handfuls of breadcrumbs, an egg, and salt & pepper.
And then, the surprise...

IMG_2365

I've "diced" mozzarella sticks (Bega "Stringers", designed for the school lunchbox crowd), and will sneak a piece into the middle of each meatball.

IMG_2370

Form the meatball, then simply press the mozzarella into the centre, and pinch closed.  Make sure you can't see the cheese - it should be completely enclosed to prevent "leakage" during cooking.

I've made small meatballs here, too cook in the frypan.  I make bigger ones when baking.


A couple of minutes on medium heat in the frypan, then simmer for 10 minutes in the sauce of your choice (it's a weeknight, so this is Leggos stir-through, straight from the jar, with some cherry tomatoes for a bit of kick.)

IMG_2373

Yum.