Saturday, June 25, 2011

Chicken with pomegranate dressing

For Cath, who shared the original recipe.

IMG_9152


This has been sitting on a shelf in the living room since it was handed to me in summer - and is intended as a summer recipe, cooked on a barbeque hotplate.  It is neither summery nor barbeque weather, so I modified this to make an oven casserole, and it is outstanding.  Thanks, Cath!


Pomegranates are in season in the Southern hemisphere from March until May - but we are still seeing them in the markets as they refrigerate well.  Grab one, and try this immediately!


IMG_9141


To get the beautiful 'jewels' from a pomegranate, score the skin and tear it apart with your fingers.  Either whack the hard outer skin with a wooden spoon to get the jewels to pop out, or gently tease them out with your fingers.
Be warned: the juice stains, so try not to drop these on the carpet, and don't wear white in the kitchen.


To make the marinade for the chicken, mix the following in a small bowl:
2-3 tsp ground cardamom
about 2 tsp freshly ground black pepper
1 tsp salt
3 cloves garlic (crushed)
1 Tbsp dried oregano
2 Tbsp olive oil
1 Tbsp Dijon mustard


IMG_9018


Add the zest and juice of one orange (or a few mandarins work well too)


IMG_9029


IMG_9052


This is sufficient for up to 2kg of chicken pieces, or 2 butterflied whole chickens (for the barbeque).  Throw it all in a big zip-lock bag, with the chicken, and pop it in the fridge for at least 4 hours.
I've used chicken maryland (whole leg/quarter chicken), allowing a generous one per person, and cut slices into the flesh to let the flavour in.
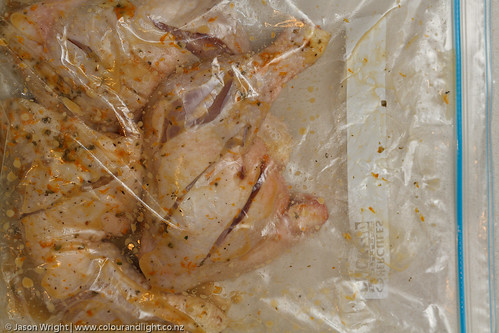

IMG_9057


You could bake this on its own, or on the barbeque, but I felt like rice.  To make saffron rice:
Gently toast a pinch of saffron threads in a small (dry) pan.  Crush to a powder.
Add to a large casserole dish with 1 cup of basmati rice, and 2 cups of chicken stock.

I seared the chicken in a hot frypan, and added straight to the casserole dish, on top of the rice.
Cover, and cook for 1 hour at 180C.  The rice will swell up around the chicken, and the steam will keep the chicken beautifully moist and tender.
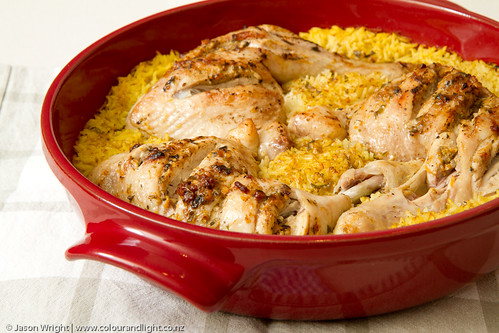

IMG_9147


While the chicken is cooking, make the dressing.  This is best if it sits for a few minutes - I made it straight after the chicken went in the oven so I didn't forget!


Mix the following in a small bowl:
seeds from 1 pomegranate
2 Tbsp red wine vinegar
1 Tbsp pomegranate molasses
1/2 cup olive oil
1 clove garlic, crushed or finely sliced
2 shallots, finely sliced
1 large ripe tomato, finely chopped (preferably vine ripened.  you want rich flavour)


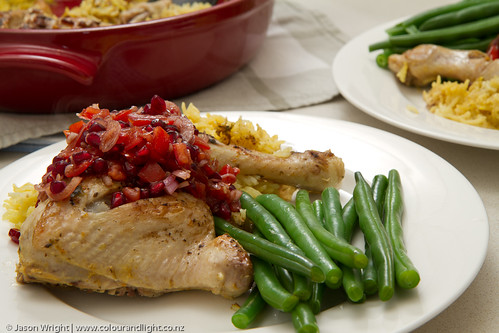
Serve with the dressing drizzled over the top.


IMG_9151


Yum

Okonomiyaki: Japanese egg pancake

Many years ago, when alphamatrix returned from a year in Japan (her first visit), I remember her cooking something which she said she really missed, and just had to have.  When she explained what it was, I didn't get it.  Clearly, the Japanese are crazy.  An egg pancake with cabbage in it is just not right. 
When we visited Japan just over a year ago, we stumbled upon a great local spot and tried this okonomiyake we had heard so much about.  And I was so wrong.  Don't knock it til you've tried it.  
This has become one of those foods that I dream about for days if someone mentions it and I can't make it straight away!

IMG_9126

I've heard this described variously as Japanese pancake, Japanese omelet, and Japanese pizza, but none of these does it justice.  This is a thick, eggy pancake, filled with delicious chicken, leek and bacon (you can put all sorts of things in it, but I keep coming back to these as my favourites), and cabbage - there's always cabbage.  Really, though, it's about the sauce, and the crazy bonito flakes - and these two ingredients are well worth tracking down so you can try this.  Trust me.

IMG_9116

Okonomi sauce is something I've tried to substitute for, but it really is unique, and essential.  You can hunt for the word "okonomi" or cheat like I do, and look for a bottle with a picture of okonomiyaki (and the unmistakeable mayonaisse criss-cross)!
I also believe bonito flakes are essential - and I wouldn't have dreamt of outting these near food before I visited Japan.  I've found a brand with individual 3g sachets, which stay fresh and are perfect as I don't make this that often.


Rather than buy okonomiyaki mix, I read the English translation on the back and have come up with an easy batter which tastes the same to me.

IMG_9095


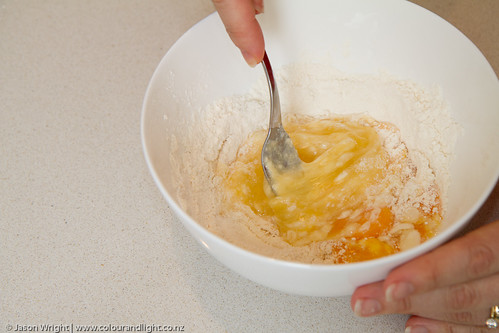
Take two eggs, and mix with about 1/2 cup of plain flour and 1 tsp of white sugar.
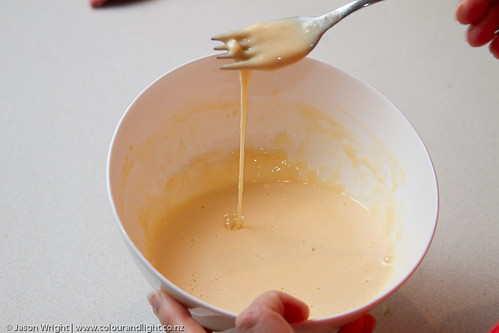
Add a couple of tablespoons of cold water until you get a thin consistency, like this:


IMG_9100


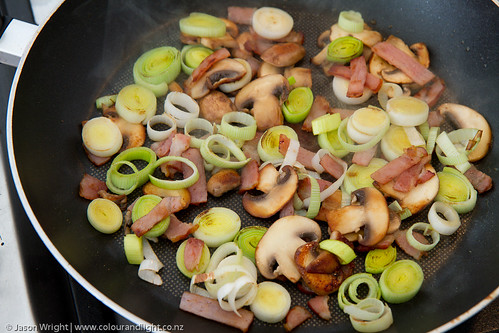
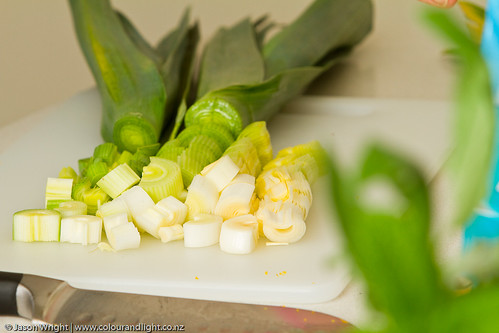
Stir-fry your main ingredients: I typically use slices of chicken thigh, leek, and bacon - but also use sliced mushrooms, and onion regularly.


IMG_9099

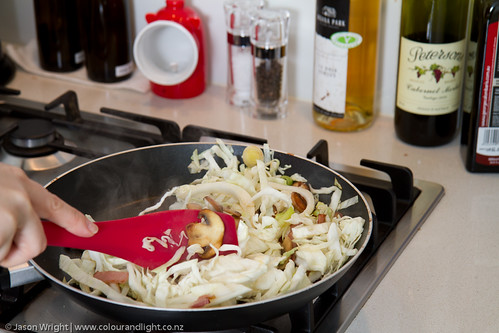
Add thinly sliced cabbage, and stir until just warmed through (this will cook further when the batter is in)


IMG_9104

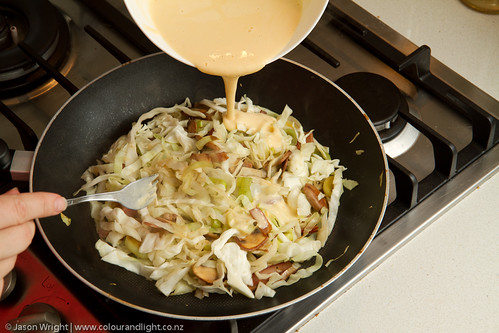
Now, pour the batter over, cover, turn the heat to low, and let sit for a couple of minutes.


IMG_9107


Carefully flip when the batter starts to set on top.  You want the batter cooked through, and only lightly browned.


IMG_9123

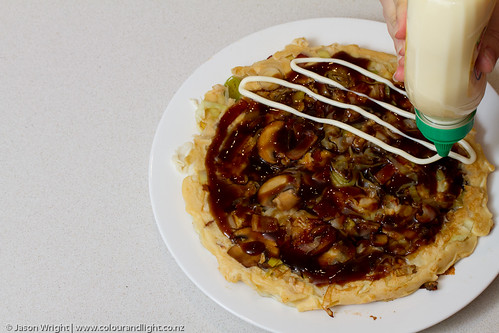
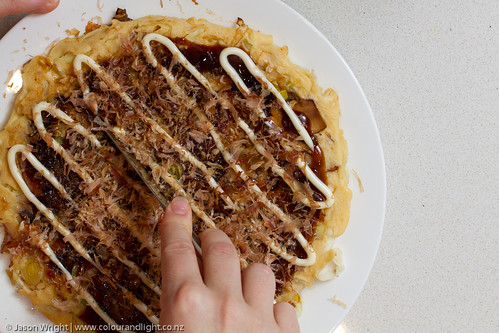
Transfer to a plate, cover with okonomi sauce, draw pretty pictures with mayonnaise (purists insist on kewpie mayo, but I find standard store-bought is just fine).  Sprinkle generous helpings of bonito flakes, and dig in!


IMG_9131

Saturday, June 11, 2011

Risotto. Another winter favourite.

Thanks to alphamatrix/Tadpole (who introduced the subject back in October), I’ve been obsessed with risotto for the past year..  I’ve discovered a few variations that I’m absolutely in love with, and will share them all here at some point in the near future.

Basic risotto can be a one-saucepan meal, which was a big help when that was exactly what I had to work with.  Now that I have my full kitchen again, I can play with a few more variations.  For now, though, I’ll share what I’ve learnt since alphamatrix showed us chicken and leek risotto.

I read recipe books and blogs as inspiration, but rarely follow recipes as they stand.  If I were hankering for risotto, I might do a quick search, read through a handful of promising examples, and get a feel for the general technique
.. then I pretty much just do my own thing!

In this case, the basics are as follows:  You need 2 cups of liquid to 1 cup of rice.  Toast the rice then temper with wine.  Add stock gradually, and pre-heat it for a more creamy risotto.  Add other ingredients as you see fit!
 

My version of leek and chicken to start with:

IMG_3608

IMG_3596

I used chicken sausages.  These are oregano, lemon, and chicken sausages from a stall at my local market (South Melbourne).  I think they deserve a photo of their own, as thyey are fantastic:

IMG_3587

IMG_3588


IMG_3594

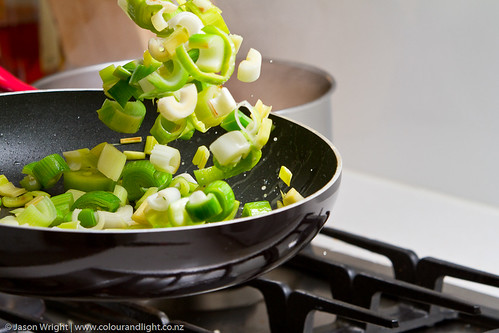
One large leek, or three baby ones.  Slice, rinse, and toss in a little oil until they start to soften.
Set aside, and make the basic risotto: I used an onion, a clove of garlic, and chicken stock.

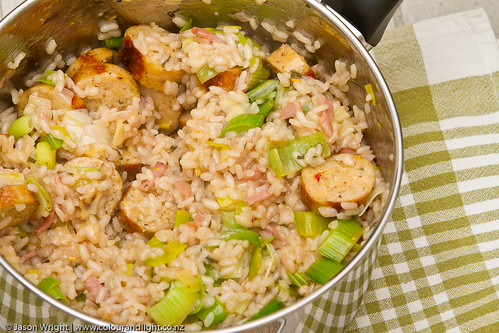
Add the chicken (the pre-cooked sausages you saw earlier), and the leek.

IMG_3603

Serve hot.

Thursday, June 9, 2011

Magic Roast Chicken

OK, this time we're taking it up a notch.  This is roast chicken with a twist.

IMG_7189

The secret is that this is a self-basting chicken. The bigger secret is that it's reallllly easy!

Before you start taking the chicken out of its bag, do a quick bit of preparation:  in a small bowl, mix 1-2 tablespoons of softened butter with a clove of garlic (chopped, sliced, or crushed), a teaspoon of lemon zest, and a teaspoon of chopped herbs (I used basil and thyme.  Please use basil if you can get it.)  Set aside.
Cut one lemon into quarters, and set it aside too.
..and preheat the oven.  I always forget that.  180C please.

Now, take one whole chicken.  Double-check it's clean (they still shove little plastic bags of liver inside them every now and then),  and pat it dry with a paper towel.
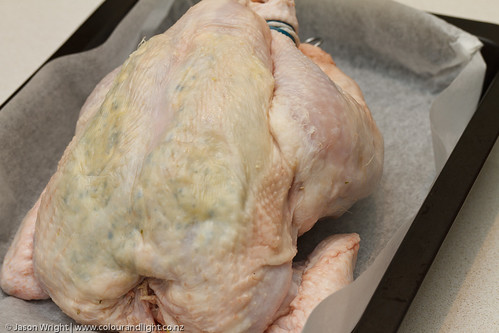
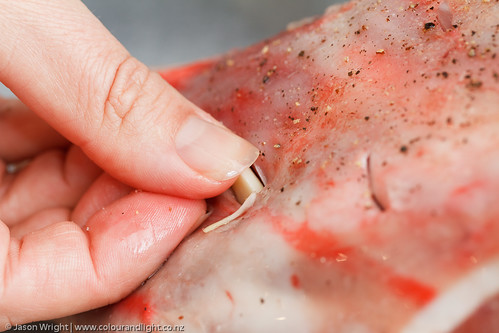
Using your fingers, make a small pocket between the skin and each breast (this is usually quite simple, just push gently through the neck-hole.  You could use a dessert spoon if squeamish, but be careful not to tear the skin).  Divide the butter mixture between the two pockets, and then tuck the loose skin back into the neck-hole.  Your chicken should now look a little like this:

IMG_7187

Trust me, it is worth it.
Shove the quartered lemon up the chicken's bum.  Yes, really.  
Tie feet together with kitchen string (I use these really cool silicon bands I picked up in Portland, Oregon) and use a skewer to hold the lemon in if required.
Now drape a piece of tinfoil over the chicken (this stops the butter burning) and pop it in the oven.  Remove the foil after 30 minutes, and roast a further 40 minutes or until cooked.
(To check if the bird is done, poke a skewer into the thick part of the thigh.  Juices should run clear. The legs tend to move freely and almost fall away when you touch them.)

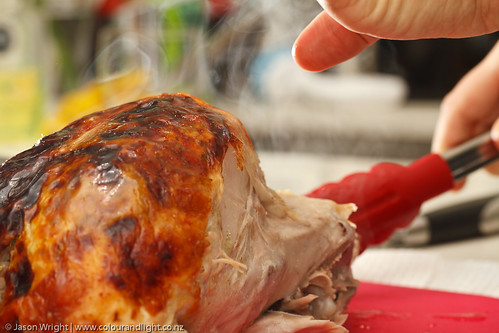
To carve a chicken, I generally remove the legs with a knife and a pair of tongs.  They don't typically put up a fight, and should come away easily.  Repeat for wings.

IMG_7196


Now, carve the breast, slicing across the grain with a sharp knife.  See all that flavour packed under the skin?  Magic.

IMG_7200

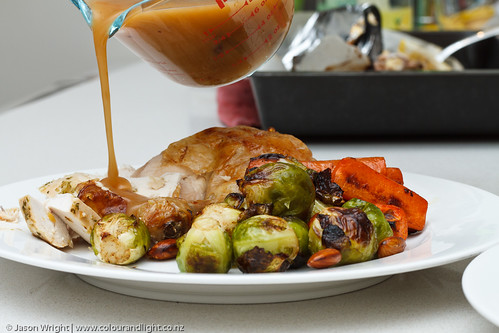
Serve with brussels sprouts, or your favourite roast veg, and gravy.  But use a nicer jug than I did if you are entertaining!

IMG_7207

I need to make this again, soon.  My mouth is watering! 

Saturday, June 4, 2011

Roast lamb 101

One thing I love about winter is roasts!

IMG_7147
 
Preheat the oven to 200C, and line a roasting pan with baking paper.  If you can, leave the lamb on the bench for a couple of hours to warm to room temperature, too.

Trim fat if you prefer - or score it in a criss-cross pattern with a sharp knife so that it runs off during cooking and leaves a crisp crust.  Rubbing with oil, and salt and pepper, helps too.
I almost always add garlic and rosemary.  Make cuts into the flesh with a small sharp knife, then push a (peeled) clove of garlic, and a sprig of rosemary into each hole.


IMG_7127


Finally, pour over approx 1/4 cup of wine (red or white - whichever is open, or whichever you want an excuse to open!).

IMG_7140


Pop into the oven, and after 20 minutes turn the dial back to 180C.  Roast for 30 minutes per kg.
Remove from the oven, cover with foil, and allow the meat to rest for 15 minutes before carving (this gives the juices time to settle, and helps to make the meat moist, and tender).  I usually take this opportunity to crank the heat up and finish the vegetables.

IMG_7150


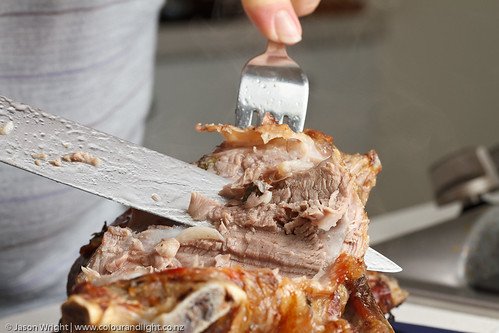
Tell the man of the house that it's his job to carve the roast (I'm terrible at this, but it does taste the same even if you don't slice tidily).  Serve on heated plates (cold lamb is greasy), with roast veges and gravy.